Classroom transformations are my favorite. It’s a gift that keeps on giving, and it makes the collections come to life. One of our team’s favorite activity, post a makeover, is to go around the table at our last meal for the week and share our favorite piece from the classroom transformation we just finished. I […]
Classroom transformations are my favorite. It’s a gift that keeps on giving, and it makes the collections come to life.
One of our team’s favorite activity, post a makeover, is to go around the table at our last meal for the week and share our favorite piece from the classroom transformation we just finished. I thought it would be fun to walk down memory lane and share my favorites {+ tips on how to recreate them for your classroom} from each makeover, and hopefully give some inspiration as you walk into a new year!


Ohhh darling Hello Sunshine! Two favorites here: the command center that we wallpapered with UPRINT paper – complete SHOWSTOPPER that worked to define spaces {you can find the UPRINT here with the instructions on enlarging}.
AND I adored the tassels on the DIY window valance – the perfect touch. I love creating the DIY valance in makeovers because the feel is so warm and homey. To do this I use butcher paper, a curtain rod and a stapler. First cut the butcher paper to about 4 feet (you want it double the length of the valance you are wanting to create), then you will fold the paper over the curtain rod and staple end-to-end (you will want to adjust the curtain rod to the length of the window before adding the paper). Then add the pop of fun, like a row of border, or in this scenario I used the Hello Sunshine Tassel Cut-outs.


Simply Stylish was Meghan’s classroom makeover {She stopped by the store in Flushing this summer with her SWEET babe and I melted into a puddle}
Hands down favorite: the large succulents in the space above the whiteboards. They filled the space beautifully which warmed the space. Those darling succulents were statement pieces before statement pieces were even a thing! You can enlarge the cut-outs in this collection to create this same look – you would need to enlarge at home or at a print shop. Print shops can get expensive, so if you are wanting to print at home see the instructions below!
1) Open the document in Adobe Reader
2) Click FILE then PRINT
3) Under “Pages to Print” select pages and enter the page number of the cut-out you want to print
4) Under “Page Sizing and Handling” click POSTER and adjust the % to 200
5) It will print on six pieces of paper, so you will have to tape the pieces together before laminating.
6) We suggest printing on cardstock and laminating!
ONE MORE THING! I also loved the border combination. It was classic, clean and timeless – you can’t go wrong! {Border combo deets: Just Around the Corner, Turquoise Stripe, Simply Stylish Tile, and Rustic Wood}


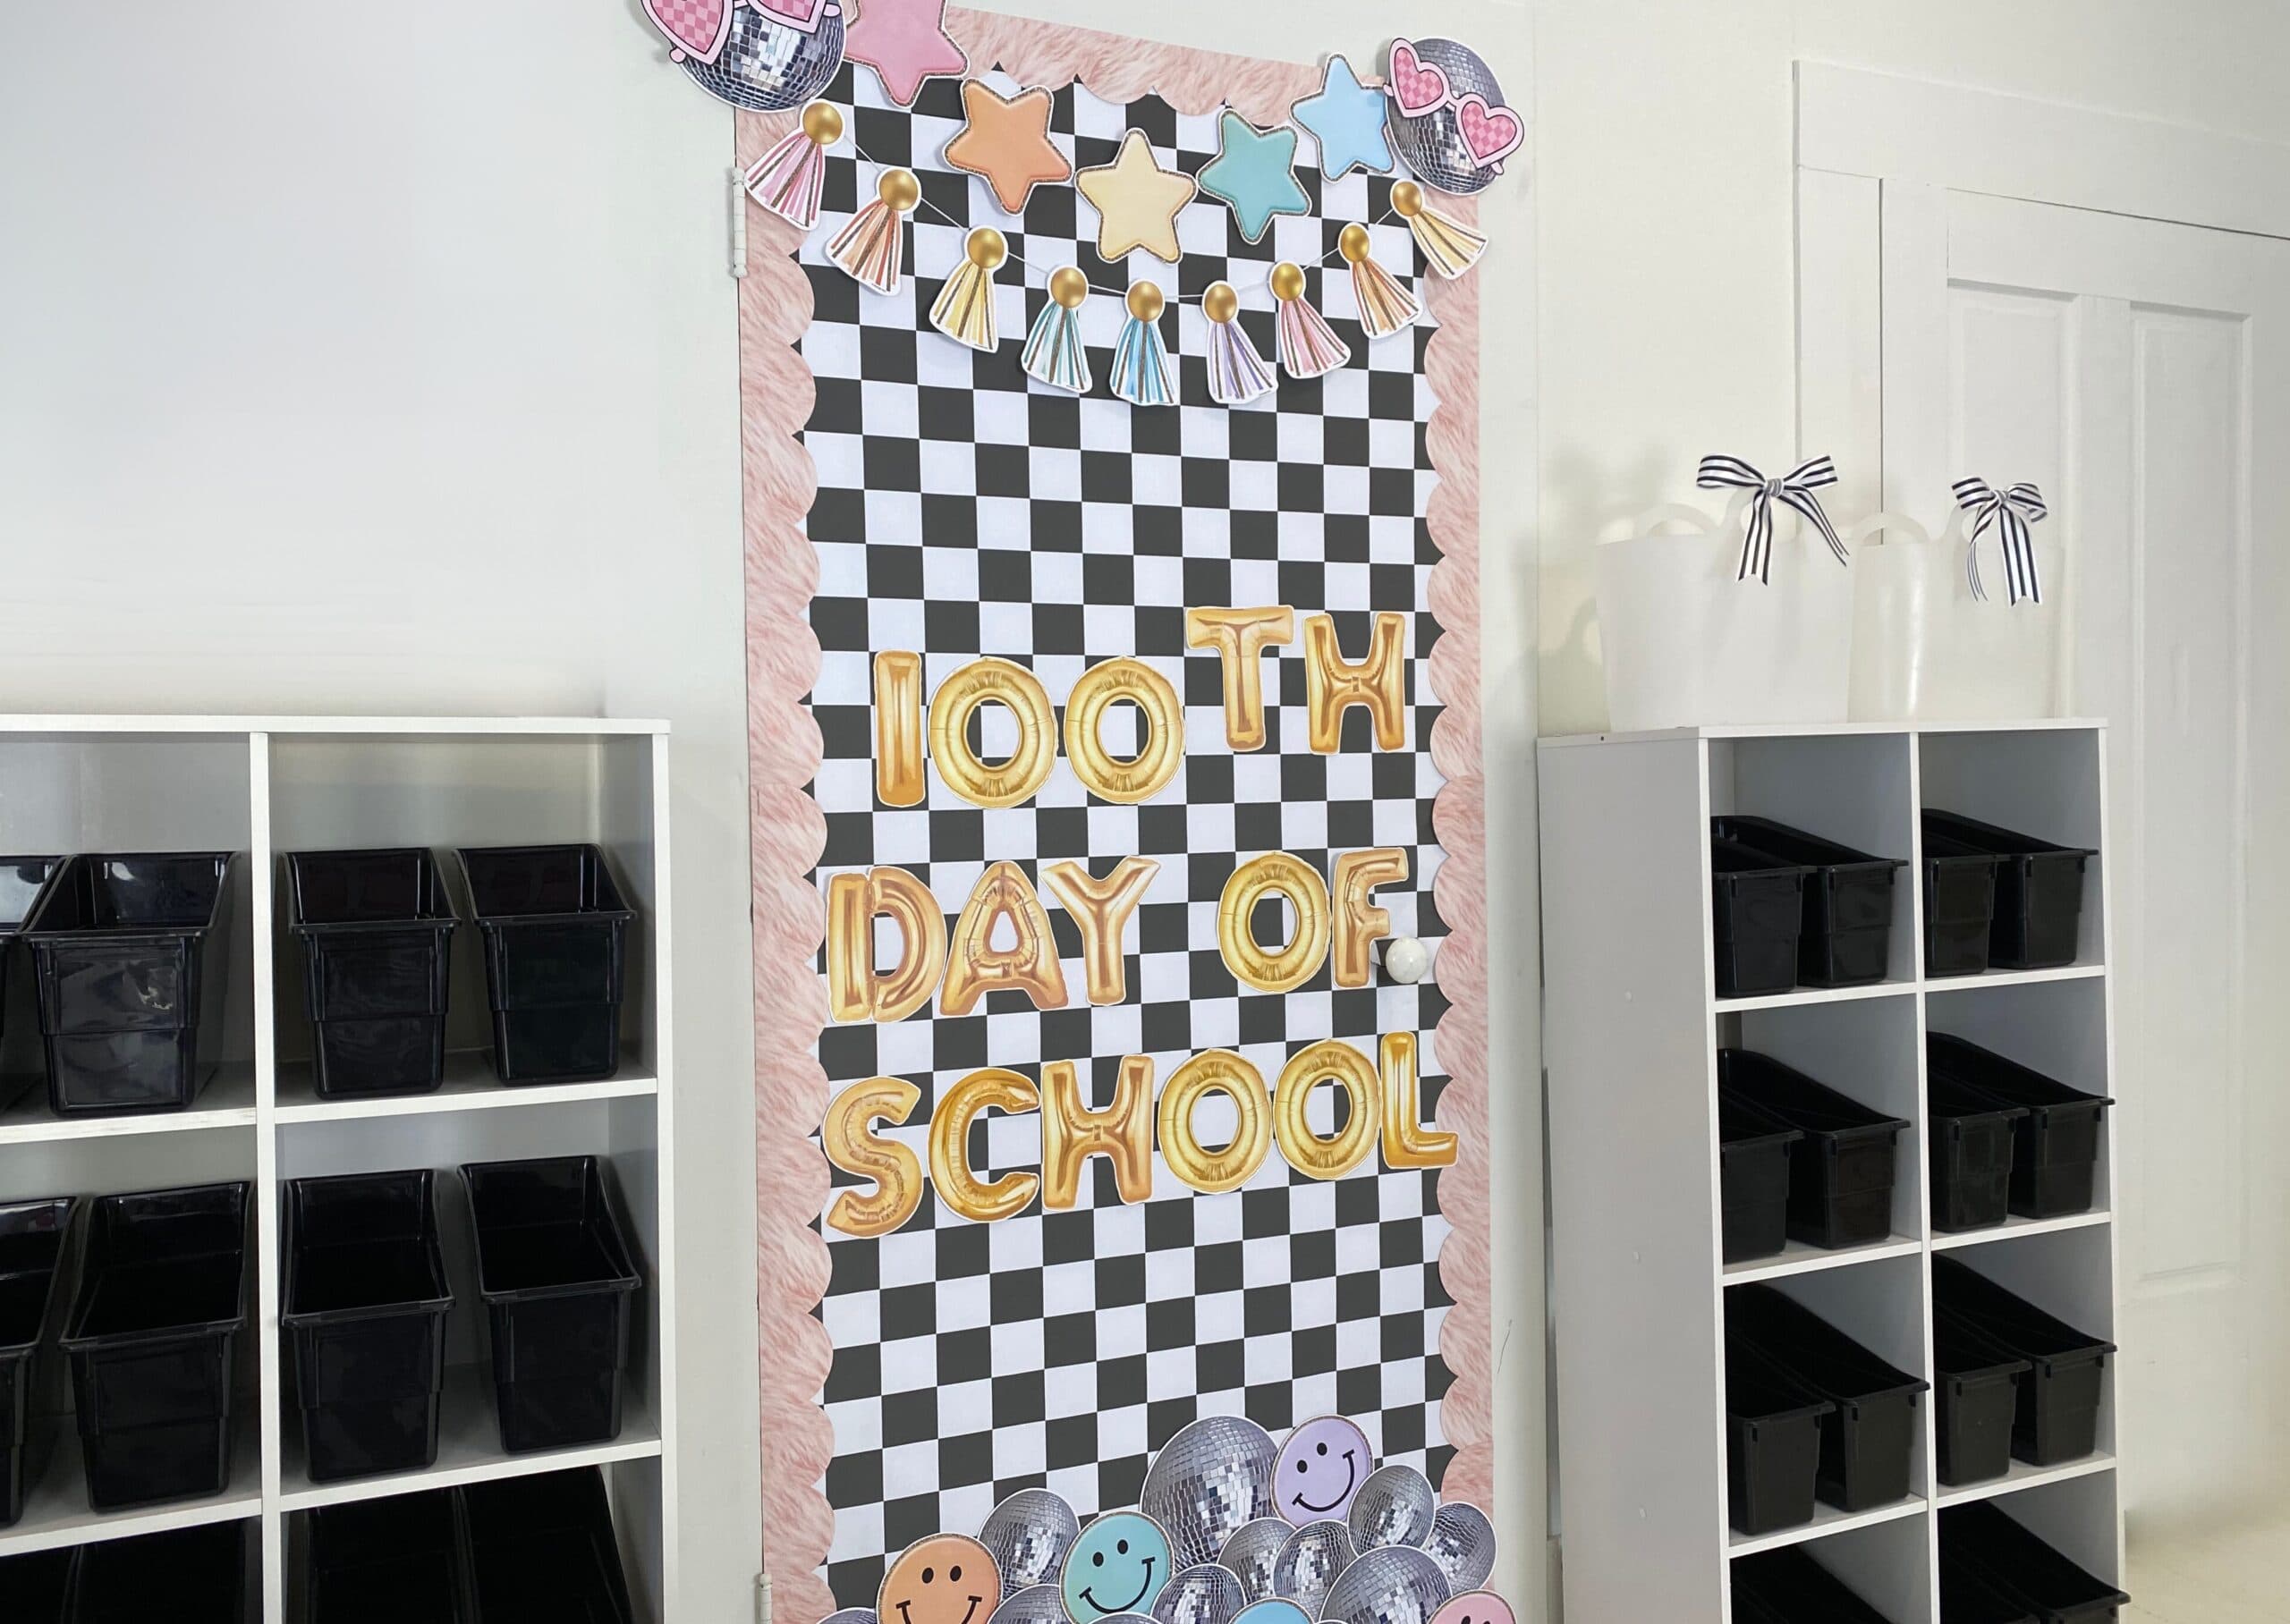
Close to Home – Close to Heart was the makeover for my sweet Jessica {you can read more about our story here}. The color palette for this collection is just so fun! For this transformation the pillows were knockouts, I think because of the black and white dancing with those vibrant tropical colors. The floral pillows are not available on the shop but to find a bounty of black and white pillows click here!
The Ikea desk area was dreamy and functional. And there was something just so special about that birthday bulletin board that just made me smile. The combo of the black and white bulletin board paper, door topper, fancy fans and the colors and style of the bulletin board set were swoon-worthy!


The Better Together Makeover for Raissa! Oh just give me all the happy faces for the glorious ombre wall. It made such a statement and was such an anchor for the space. {If you want to recreate this wall, here is the list of Sherwin Williams paint colors from top to bottom: Dover White (SW 6385), Tres Naturale (SW 9101), Loggia (SW 7506), Toasty (SW 6095), Coconut Husk (SW 6111), Constant Coral (SW 6325), Koral Kicks (SW 6610), Mellow Coral (SW 6324), and Faint Coral (SW 6329)}.
The Painted Dot Foundation Border on the back of the bookcases created such cute dimension, and really made them feel like storage pieces rather than just bookshelves. We ran the borders vertically, side by side, and adhered with mavalus tape. AND the large framed Simply Stylish Boho Rainbow Posters were heavenly statement pieces. We bought those frames from Ikea! {Notice the trend that I CANNOT – ever – pick one favorite from a makeover!}


Beautifully Boho for Shelly – Those make-you-weak-in-the-knees dramatic black cabinets. I was scared to do that at first, but it looked amazing with the contrast of the white walls and was pure sophistication. Adding the gold hardware was the crowning jewel for the cabinets!
The brick backsplash was an experiment with the Brick Foundation Border and it turned out stunning! We ran the border horizontally, and matched up the pattern of the brick to create the backsplash feel (if you are wanting an easy route, we now have Brick Bulletin Board Paper).
I also loved the little island in the center of the room for Shelley to use as she teaches – Shelly taught science so the functionality of this feature was perfect.


Our 10 Year Anniversary Oops-A-Daisy Transformation! This was the summer that we began producing rugs, and the makeover came on the heels of a VERY busy season full of growth and learning and HARD work.
I will forever love classic black and white, so the Daisy Area Rug was a complete heartthrob for me! AND a shout out for Painted Dot Statement Pieces that danced perfectly on the walls! Cuteness central and so easy to add to any space!


My favorite piece in the Let Your Heart Glow Transformation for Jann was the focal wall with seating and pillows. We used the “Let Your Light Shine” Inspirational Classroom Headline as the anchor, then framed it with the Crisscross Rainbow Foundation Border, Watercolor Rainbow Frame Border and Picasso Painted Dot Border. Adding the pillows created such a cozy nook – those darling pillows can be found here. I also loved Jann’s desk area – it was super functional with so much storage.


Wild and Free Classroom Transformation for Karla – 100% the wall mural! This was such a fun makeover because I had two of the SGS graphic designers with me, which means I get to get all-the-more-creative! I had this vision of this beautiful, calm, arch painting and sweet Natalie made it come to life! You can watch the Timelapse here!
The reading nook was extra cozy with the pillows. I used the Leopard Sunset Pillow, Safari Painted Dot Pillow, and Bubbles on a Summer Day Pillow. The 5’x7′ Simply Safari Leopard Rug brought a dose of sophistication and the UPRINT Safari Animals created the perfect reading buddies in this space! The Safari Animals were enlarged to 18″x24″ from the XL cut-outs and here are the steps to do this on your printer at home or school (you can print at a print shop, but again, that can get expensive):
1) Open the document in Adobe Reader
2) Click FILE then PRINT
3) Under “Pages to Print” select pages and enter the page number of the cut-out you want to print
4) Under “Page Sizing and Handling” click POSTER and adjust the % to 200
5) It will print on six pieces of paper, so you will have to tape the pieces together before laminating.
6) We suggest printing on cardstock and laminating!


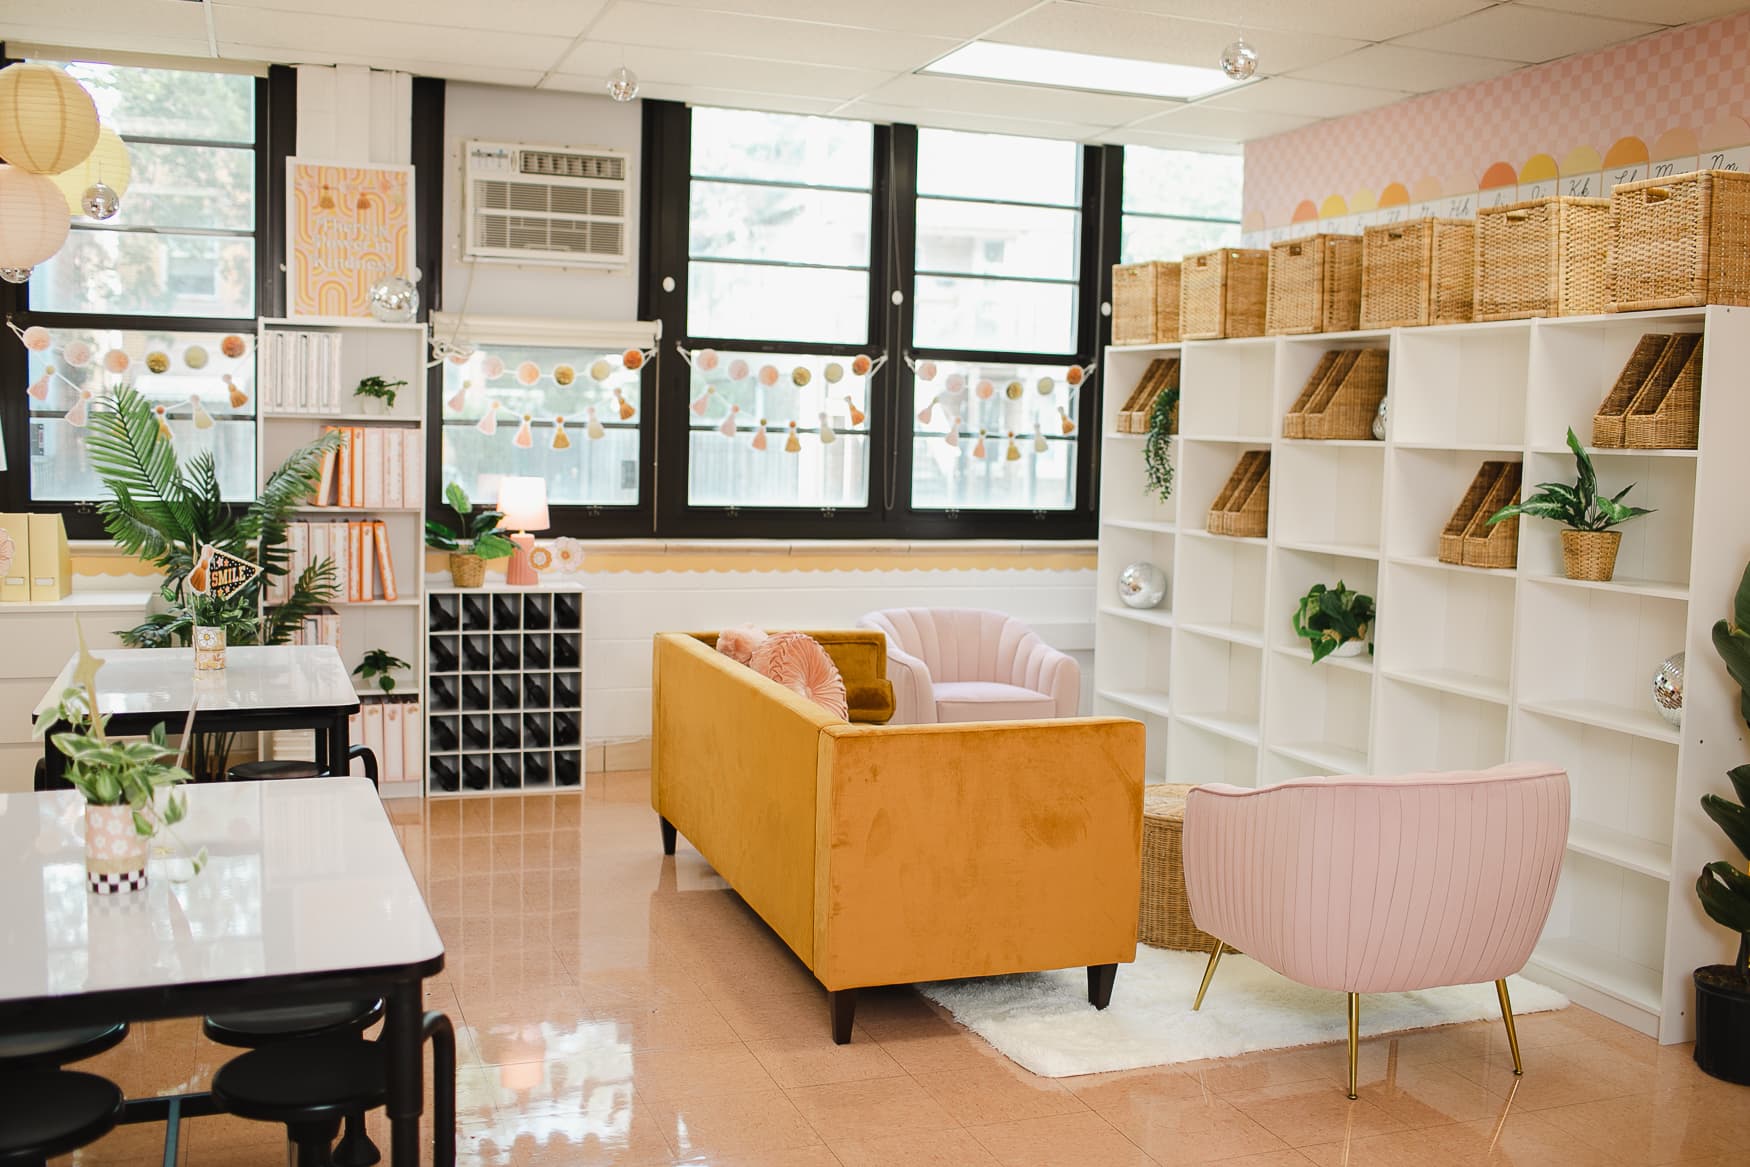
Good Vibes for Megan – I was SO excited to showcase our new UCUT category with the statement pieces in this transformation. But my FAVORITE statement piece was the Giant Smilie! We attached two back-to-back and hung them from the ceiling with fishing line and paperclips, and oh, they were just pure sugar!
I had purchased white stools to create a flexible seating option, but mid-makeover had the thought to spray paint them gold – WOW and WOW!


I am all about the details, so I adored the light pink we painted the doors. Megan loves pink, so I love that we added pops of pink for her. For this I used 6323 Romance from Sherwin Williams.
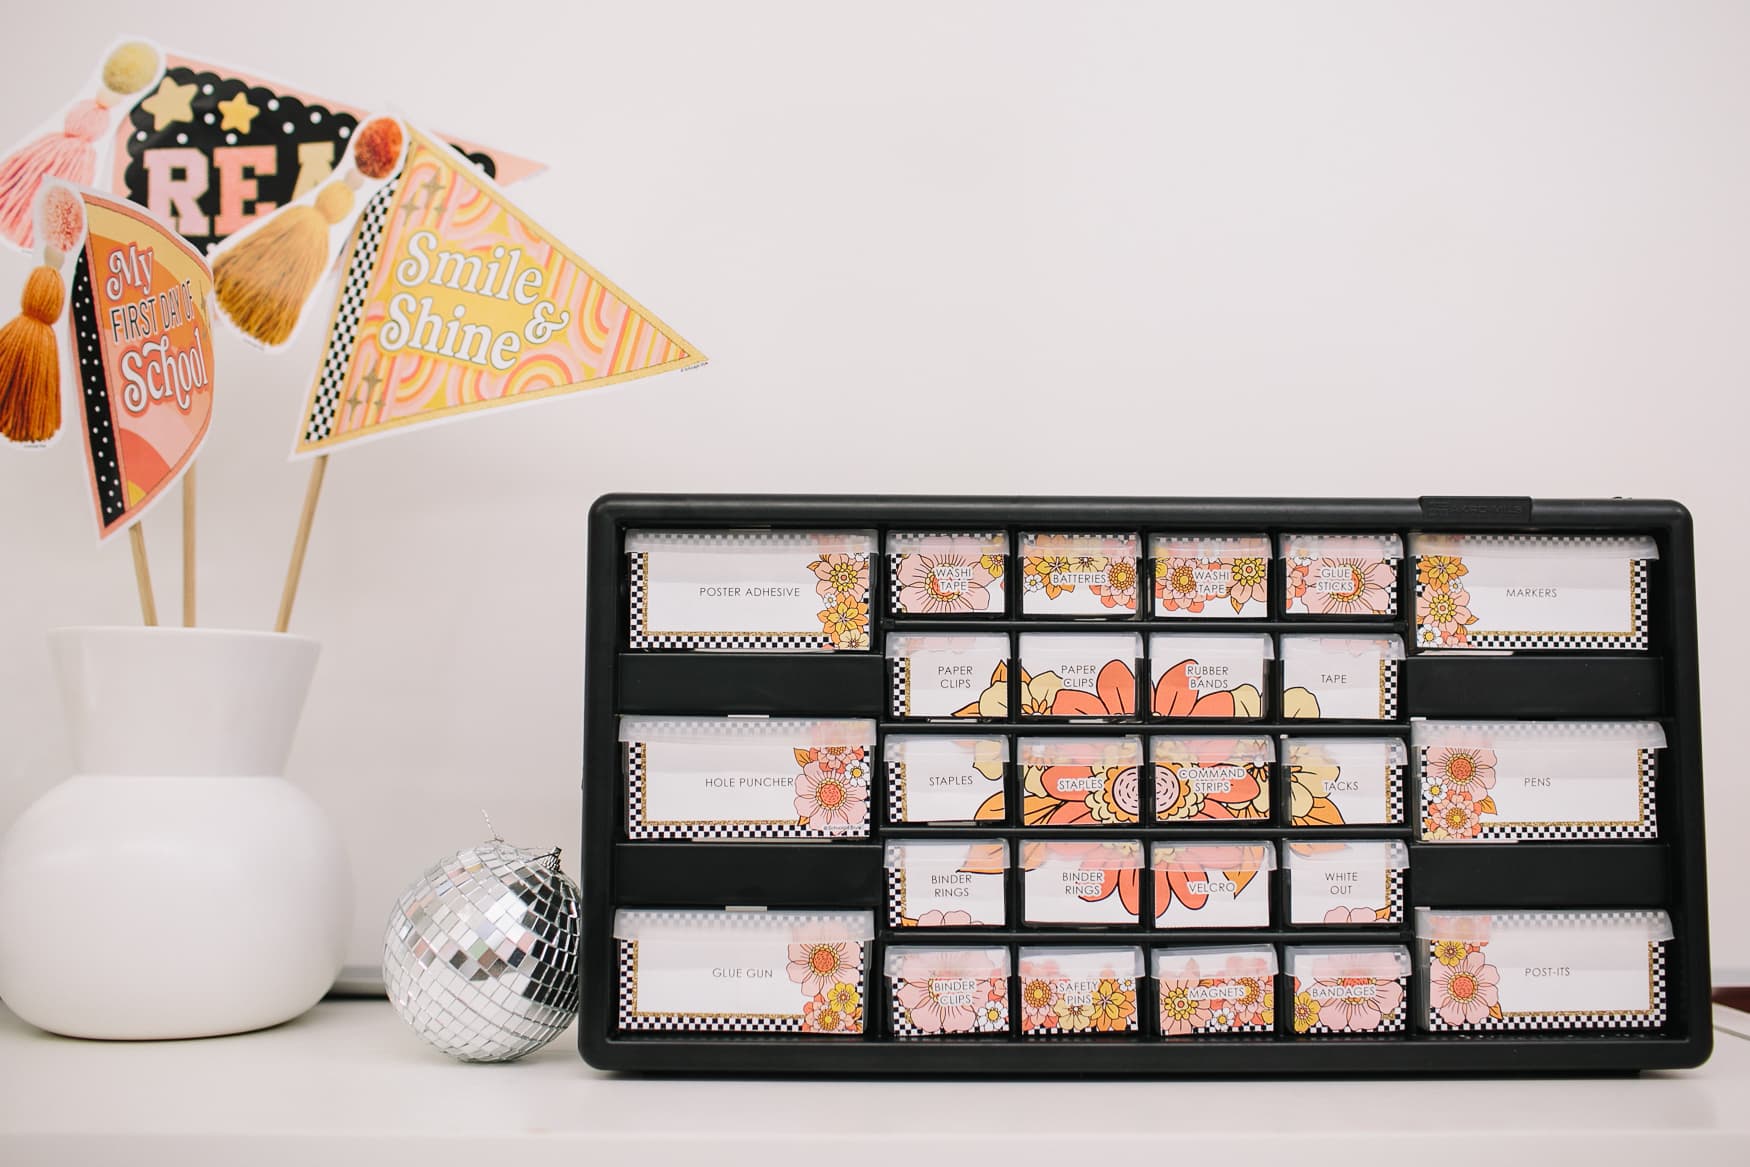
AND lastly, Natalie, for the win again! In a very creative genius way, she used pieces from our collage kit to create binder spines for Megan’s desk. The way she organized and designed them was just breathtaking to me!
The End. HAHA. If you made it this far, I’m curious: What’s your favorite makeover? Or which has been the most inspiring to you? Comment below!
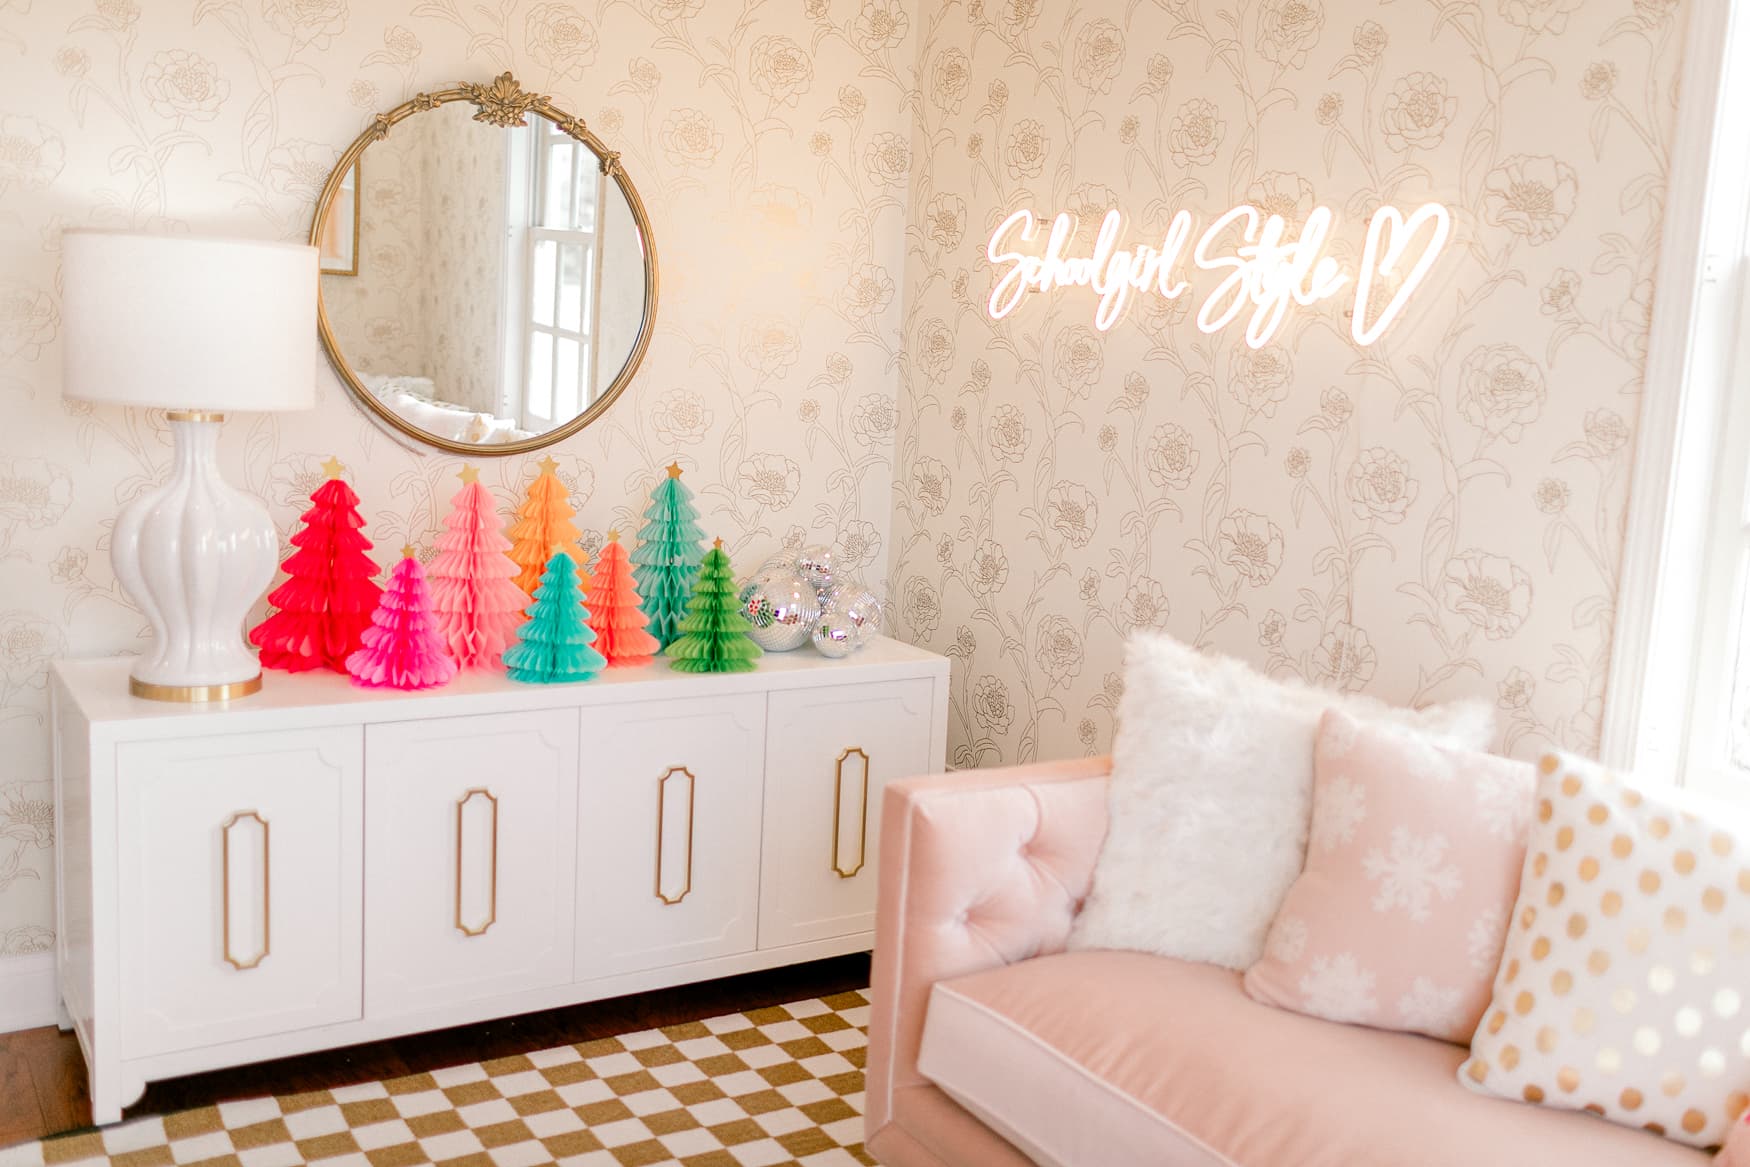
As always, thanks for reading and following along in the journey of Schoolgirl Style. I’m so thankful for the work we’ve already done, but I have a feeling, it’s just the beginning!
XOXO
Melanie

Share the Style!