I had someone email me this week and explained that her school had a very strict fire marshall! She went on to tell me that she cannot hang anything from the ceiling and only a certain percentage of her classroom can have paper. Does this sound like your district? It is very interesting to […]
I had someone email me this week and explained that her school had a very strict fire marshall! She went on to tell me that she cannot hang anything from the ceiling and only a certain percentage of her classroom can have paper. Does this sound like your district?
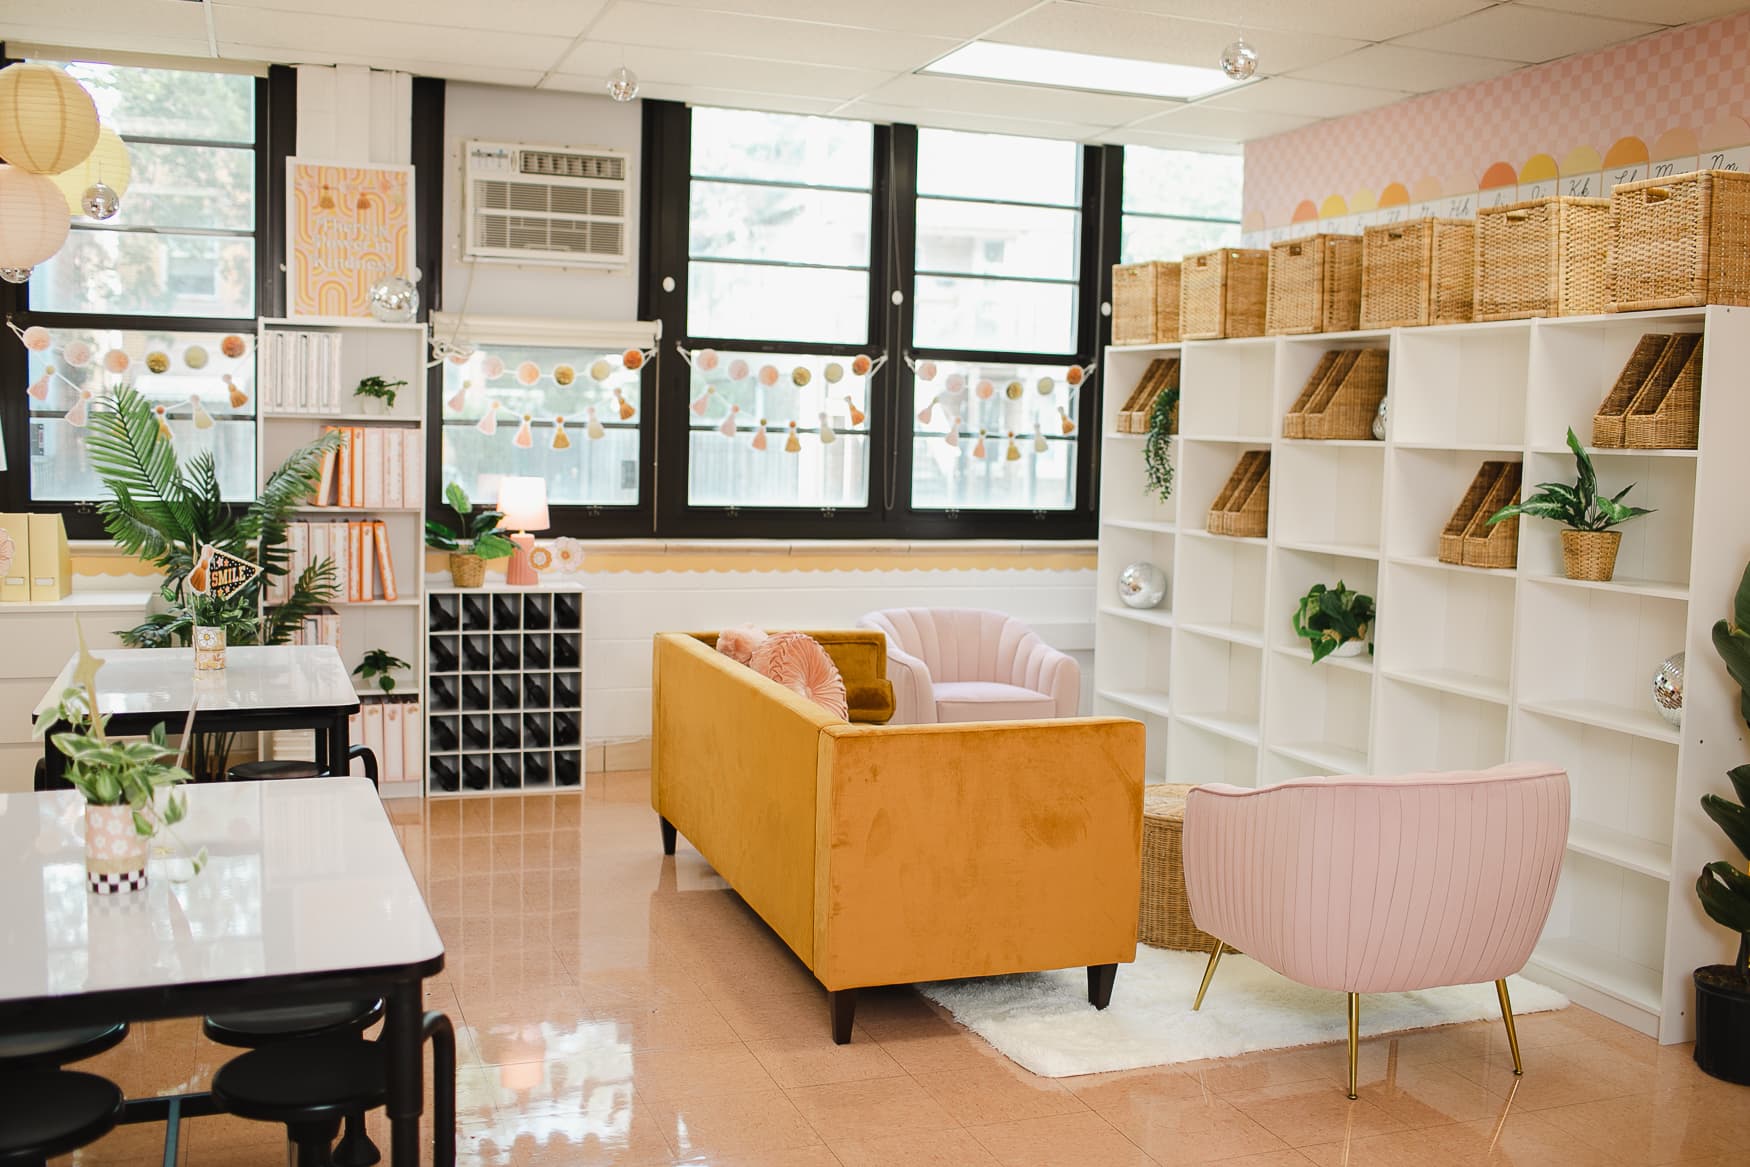
It is very interesting to see and hear what certain districts can and cannot get away with as far as classroom decorating goes. As for my school, we cannot have upholstered furniture of any kind, rugs are not permitted, or any other furniture brought from home. When I see classrooms with comfy sofas and chairs, I get so jealous…I would LOVE that in my classroom. I also could use another rug for the children to sit and read during our Daily 5, but NOPE, can’t have that either. I CAN hang things from my ceiling, but when I taught at another school in my district, that was not allowed either.
So, I bet you are wondering how you can STILL have a cute classroom with all of these rules, right? Seriously, you don’t have to have things hanging from your ceiling or a ton of paper all over your room to make it look good. When decorating a room, I have a few rules that I follow…
Rule #1
Keep bulletin board paper cohesive throughout your classroom
You really don’t need a ton of paper, but make sure you stick to the same color scheme throughout the entire room. I see classrooms where one bulletin board may have red paper, the other might have purple, another might have green, etc…
Don’t do that! Use the same color paper throughout your room.
Here is a picture of one side of my classroom…
I used sky paper and brown paper.
Here is the other side of my room…
I used sky paper again. See how I pulled the brown in with the tree and the border?
This is the front of my classroom…
I used brown paper again.
Here is the front of my room again, but this is the bulletin board on the left side of my white board…
Brown paper again…do you see how it is done? Even if you aren’t allowed to put paper anywhere other than your boards, just keep the colors cohesive.
Rule #2
Double your borders and keep them cohesive throughout your classroom
Okay, this is a big one. I see this ALL.THE.TIME! One bulletin board might have some cutsie border with kids or a saying on it, then another bulletin board border might have the months, then another board border might have some flowers, then another one might have crayons…you get what I mean. Don’t be tempted by all the cuteness. Keep it to a minimum. I chose a green polka dot border, a light green/lime bordette, and a brown bordette and used this throughout the entire classroom.
See how I doubled the borders? When you have such a large space, you need to think about scale. One row of border can get lost if you have a large area to cover.
This area is so gigantic in my room, I even tripled my border! Look at how it makes an impact. You wouldn’t be able to even see my border if I had one row. The three rows of border pulls my entire color scheme together.
Rule #3
Create a focal point
When you walk into my classroom, your eye goes directly to my tree. I made this large to create a huge impact in my room. When you walk into your classroom think about what you look at first. Whatever is straight ahead, that is where you need to create your “WOW” in your room.
My friend, Jen, just did this last week to her classroom and I noticed it right away. I happened to be walking by and noticed a row of bookcases filled with cute, colorful baskets. On top of the bookcases, she placed two lamps with really pretty lampshades. She placed everything right where your eye would look first when walking into her room. It made such a difference in the overall appearance. I loved it!
Rule #4
Cover your open shelving with fabric curtains or use baskets that match your color scheme.
Dressing bookshelves and/or open shelving is the hardest thing to do when you are decorating. The key to pretty bookshelves is scale. You need to be pretty talented in understanding scale when you are putting things on shelves, if you aren’t, the end result can be bad. This is where you can look unorganized and junky. When I dress my shelves at home, it seriously takes me hours. I have to move things over and over to keep everything balanced.
My suggestion…just cover and hide it. Don’t try to decorate shelves. Fabric will soften your room. You don’t even need to know how to sew! I use the iron fabric tape and it is done in a jiffy! Now, if you have to use special fabric for the fire marshall, don’t worry about it and just use baskets instead!
Here are my pretty brown and white polka dot curtains!
Open shelving with yellow baskets. This makes the room look put together, cohesive, and very organized.
More open shelving!
More open shelving…
Rule #5
Decorate tables
This is the final place to pull your theme together. Make sure caddies/baskets match your color theme.
I chose brown wicker baskets to pull in the dark chocolate brown color that I used throughout the classroom, plus I wanted it to look more natural since I was using birds and trees. Plastic tubs would have worked, but wouldn’t have given you the earthy look I was going for. I couldn’t find inexpensive dark brown baskets, so I picked up some cheap baskets on clearance at Joann Fabrics, then spray painted them to match. This saved me a ton of money!
Last…
What do you do if you can’t hang from the ceiling…
Use pretty poms on your bulletin boards!
Poms on your doors!
Poms on your tables!
I really hope that I helped answer some of your questions when it comes to decorating your classroom! The fire marshall can seem like he/she is putting a big damper on your decorating, but in reality, if you stick to my rules, your room will look cute and organized regardless of restrictions!
Happy Decorating!
~Melanie~
Share the Style!
